Valentine’s Thumbprint Cookies are so pretty and perfect for the holiday! Buttery cookie dough is topped with sprinkles and baked before being filled with pink and red chocolate.

VALENTINE’S THUMBPRINT COOKIES
The origin of thumbprint cookies is not entirely clear, but it is believed that they were first made in Sweden in the early 1900s. The cookies became popular in the United States in the 1940s and 1950s, and they have remained a favorite ever since.
Thumbprint cookies are versatile and can be made with a variety of flavors and fillings. These thumbprint cookies are made by making a soft, buttery cookie. The cookies are indented and filled with a simple red or pink chocolate filling. Drizzle a little chocolate on top just before serving.
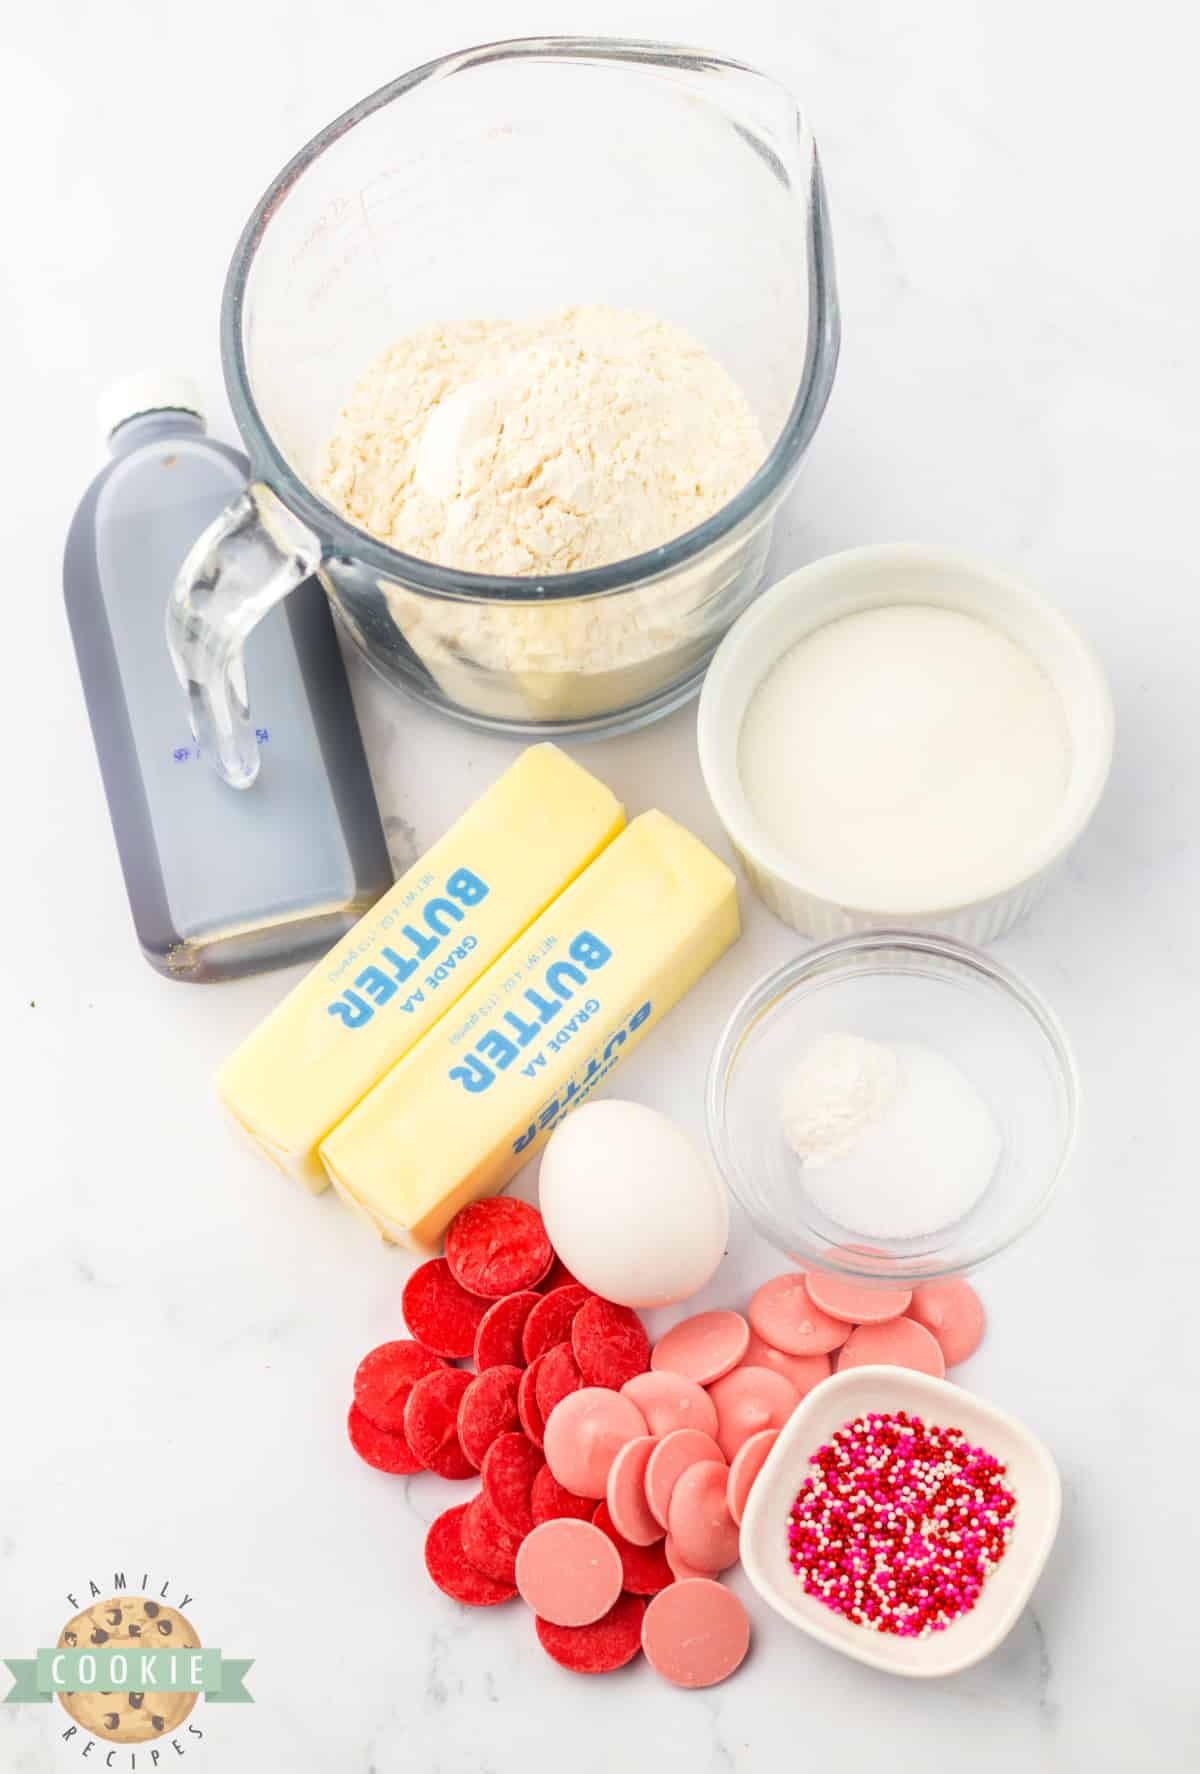
INGREDIENTS IN VALENTINE’S THUMBPRINT COOKIES
Butter – Make sure your butter is softened to room temperature before adding to the other ingredients. For best results, use real butter.3/4 cups butter, softened
Sugar – You can’t make cookies without sugar!
Egg – One large egg is needed to bind all of the other ingredients.
Vanilla – The higher the quality of the vanilla, the better.
Flour – All-purpose flour works great.
Baking powder – This is the leavening agent in the cookies. For best results, make sure it isn’t old or expired.
Valentine sprinkles – Add some sprinkles to the dough and then sprinkle some on top of the completed cookies as well.
Candy melts – You will need 6 ounces of red candy melts and 6 ounces of pink candy melts. If you can’t find colored candy melts, you can use white chocolate and add pink and red food coloring to the melted chocolate. For more intense color, use gel food coloring.

HOW TO MAKE VALENTINE’S THUMBPRINT COOKIES
Preheat oven to 350°. Line a baking sheet with parchment paper.
MAKE THE COOKIE DOUGH
In a large mixing bowl, use an electric mixer and mix the butter and sugar together until light and fluffy (about 2-3 minutes).
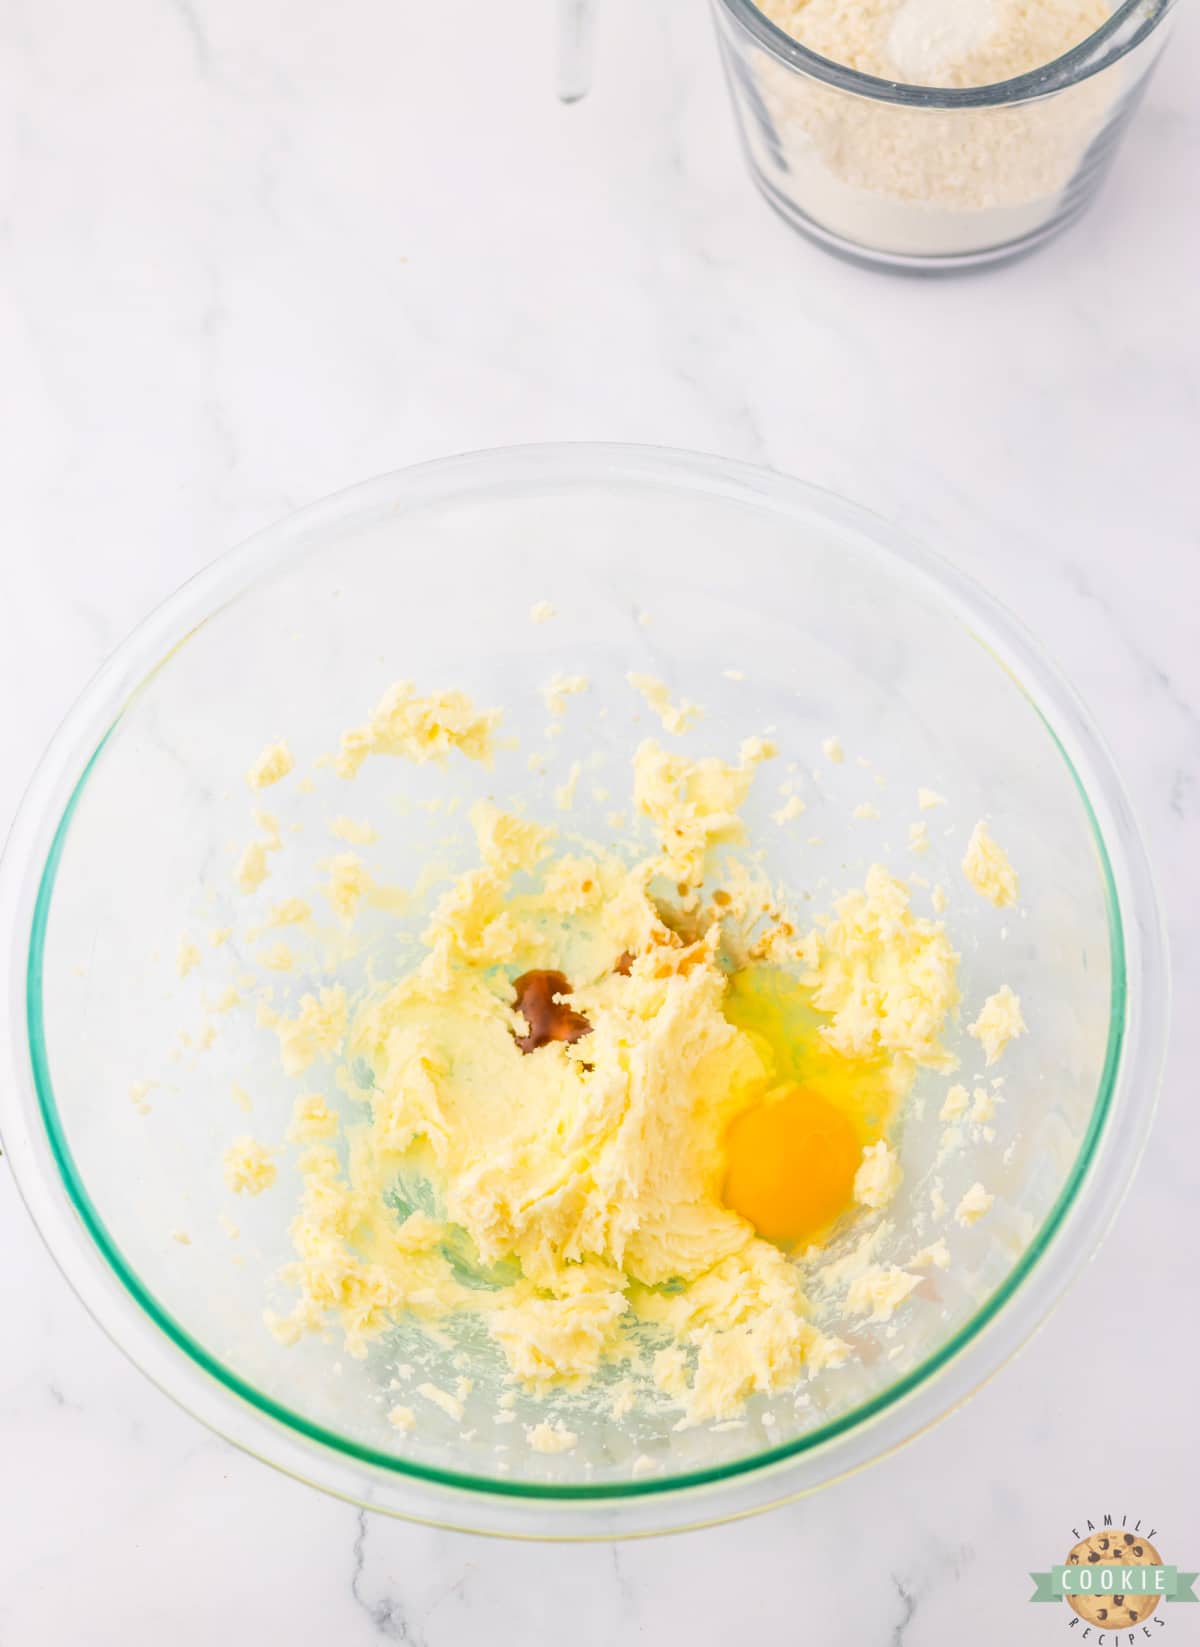
Beat in the egg and vanilla.
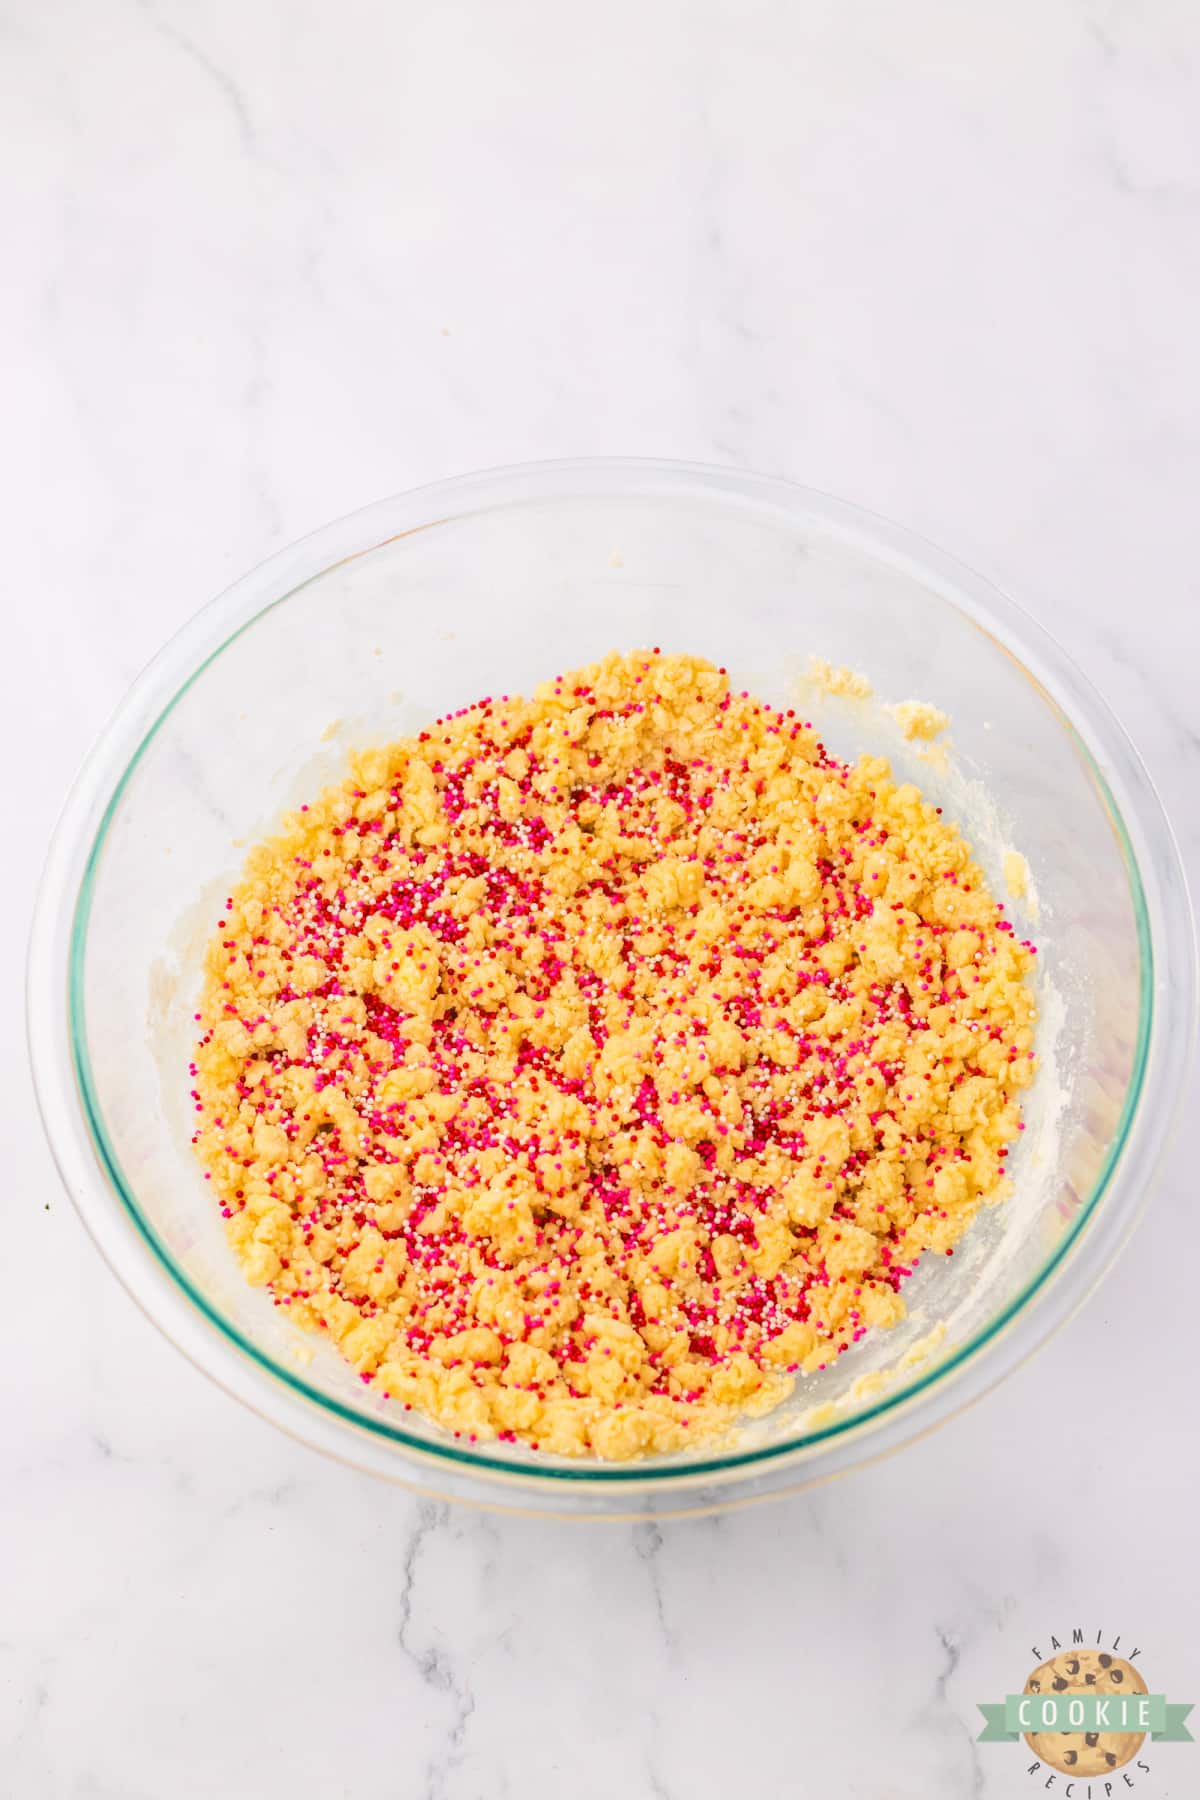
Next, mix in the flour and baking powder just until combined. Stir in 1 teaspoon of sprinkles.
SHAPE AND BAKE THE COOKIES
Use a cookie scoop to scoop 1 – 1 ½ inch balls. Roll the dough into balls and place on the prepared sheet.

Use your thumb to create an indent in the middle of each cookie.
Bake for 12-15 minutes until the edges are just golden brown.
Use the back of a teaspoon to reshape the indents while the cookies are warm. Set aside.
MELT THE CHOCOLATE FILLING
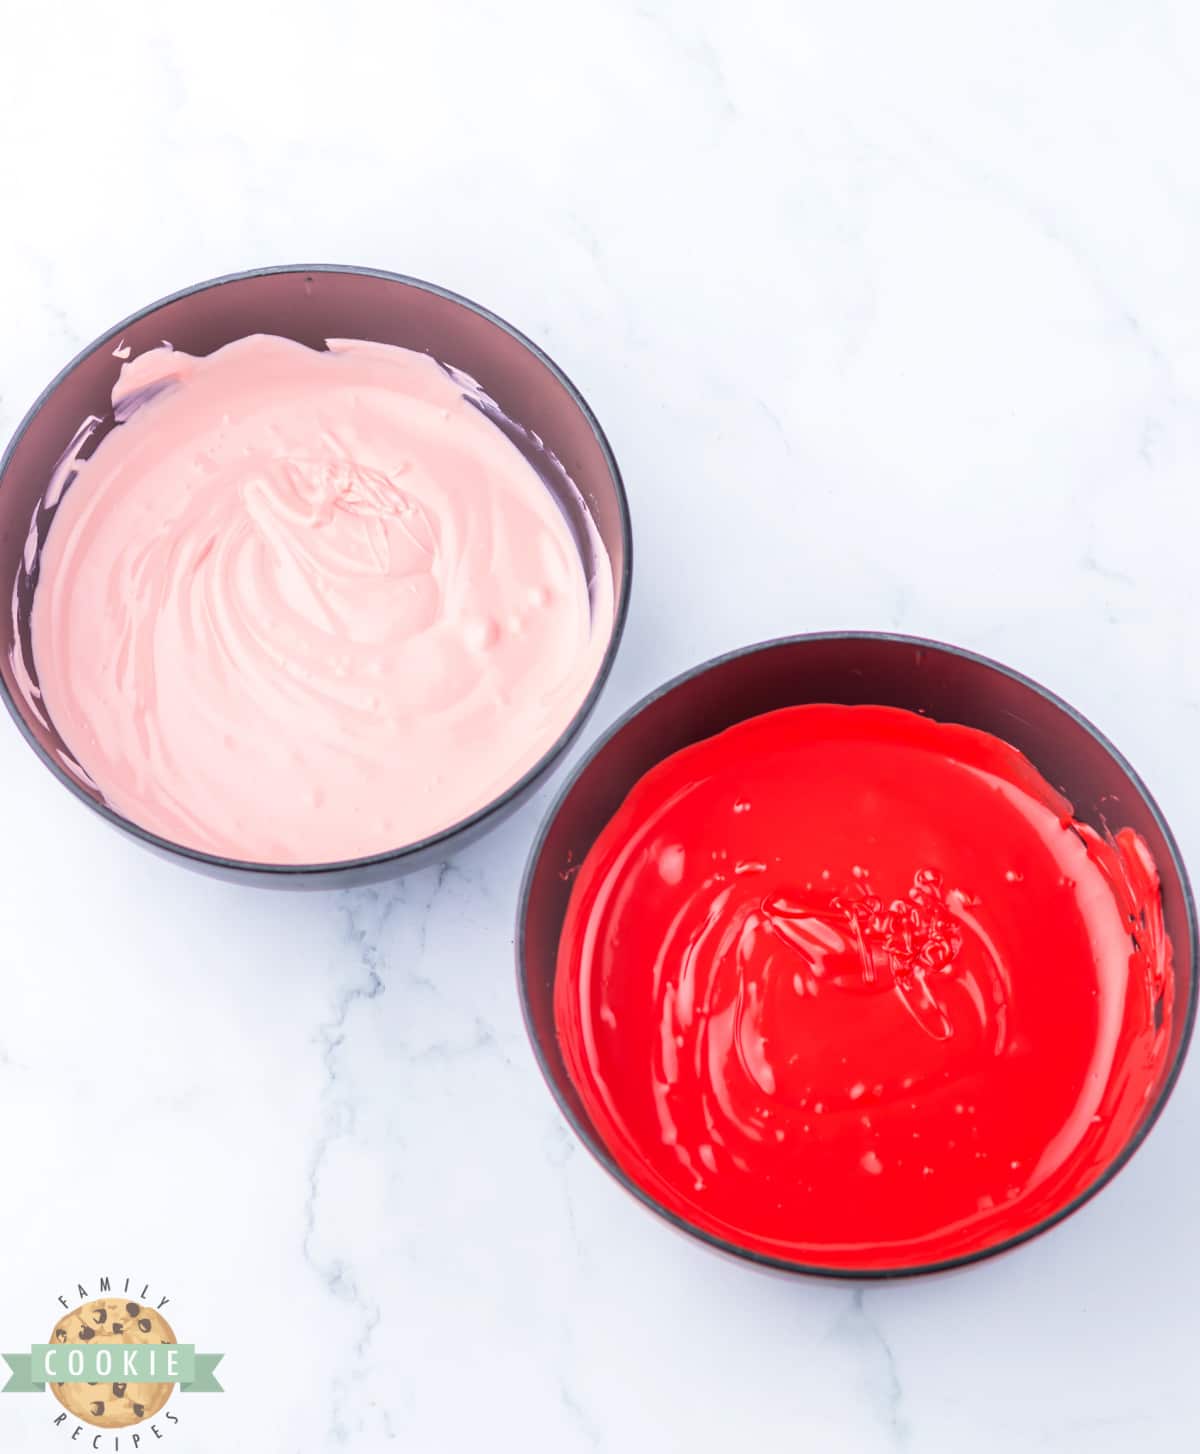
In 2 separate microwave-safe bowls, melt the red chocolate in one bowl and the pink chocolate in another. Microwave in 30-second intervals, stirring between each interval, until completely melted and smooth.

Spoon the red chocolate in the indents in half of the cookies and then spoon the pink chocolate into the indents of the remaining half of the cookies.
Put the cookies in the fridge for 5 minutes just to let the centers set up.
ADD THE DRIZZLE AND SPRINKLES
Place the remaining colored chocolate into two small Ziploc bags and snip off a tiny corner in each bag.
Drizzle red chocolate onto the pink center cookies and drizzle pink onto the red center cookies.

Immediately sprinkle with more sprinkles and set aside to cool.


WHAT ARE SOME VARIATIONS OF THUMBPRINT COOKIES?
Thumbprint cookies are a versatile treat that can be customized in many ways. Here are some popular variations:
Filling Variations. The filling is the most customizable part of thumbprint cookies. Here are some popular filling variations:
- Fruit preserves: The classic filling for thumbprint cookies is fruit preserves. Popular flavors include raspberry, strawberry, and apricot.
- Chocolate: For a chocolatey twist, fill the thumbprint with melted chocolate or chocolate ganache.
- Caramel: For a rich and buttery flavor, fill the thumbprint with homemade or store-bought caramel.
Topping Variations. The topping is the final touch on thumbprint cookies and can also be customized. Here are some popular topping variations:
- Chopped nuts: For a crunchy texture, sprinkle chopped nuts on top of the filling.
- Powdered sugar: For a sweet and simple topping, dust the cookies with powdered sugar.
- Glaze: For a shiny and sweet topping, drizzle the cookies with a simple glaze made of powdered sugar and milk.
HOW LONG ARE THUMBPRINT COOKIES GOOD FOR?
You should keep the cookies in a single-layer airtight container at room temperature for up to 1 week. Use a piece of parchment paper between layers of cookies, if needed, to prevent bottoms of cookies from getting into the chocolate filling in the other cookies. For best results, I recommend eating them within about 3 or 4 days. You can freeze these cookies for up to 3 months.

WHY DID MY COOKIES SPREAD?
If your cookies spread too much while baking, it was most likely a direct result of the dough being too warm. If it’s hot in the kitchen or your butter is too soft, your dough will become warm fairly quickly. You can fix this easily by just popping the dough into the freezer for about 30 minutes to an hour or so before you continue to bake the cookies as directed.
CAN I MAKE THE COOKIE DOUGH IN ADVANCE?
Yes, you can make the dough and keep it in a well-covered bowl in the fridge for up to a day in advance. So make the dough one day and bake it the next. Perfect for parties and occasions where you want fresh cookies but without being in the kitchen for too long.

HERE ARE MORE THUMBPRINT COOKIE RECIPES TO GIVE A TRY:
- CHEESECAKE COOKIES
- SWEETHEART VALENTINE THUMBPRINT COOKIES
- GRINCH THUMBPRINT COOKIES
- EASY, SOFT JAM THUMBPRINT COOKIES
- RASPBERRY JAM THUMBPRINT COOKIES
- SALTED PUMPKIN CARAMEL THUMBPRINT COOKIES
- DOUBLE THUMBPRINT HEART COOKIES
- CHOCOLATE STRAWBERRY THUMBPRINT COOKIES
- STRAWBERRY THUMBPRINT COOKIES
- LEMON THUMBPRINT COOKIES
- CARAMEL THUMBPRINT COOKIES
- STRAWBERRY THUMBPRINT COOKIES
- CHOCOLATE RASPBERRY THUMBPRINT COOKIES

Valentine’s Thumbprint Cookies are so pretty and perfect for the holiday! Buttery cookie dough is topped with sprinkles and baked before being filled with pink and red chocolate.










Leave a Reply