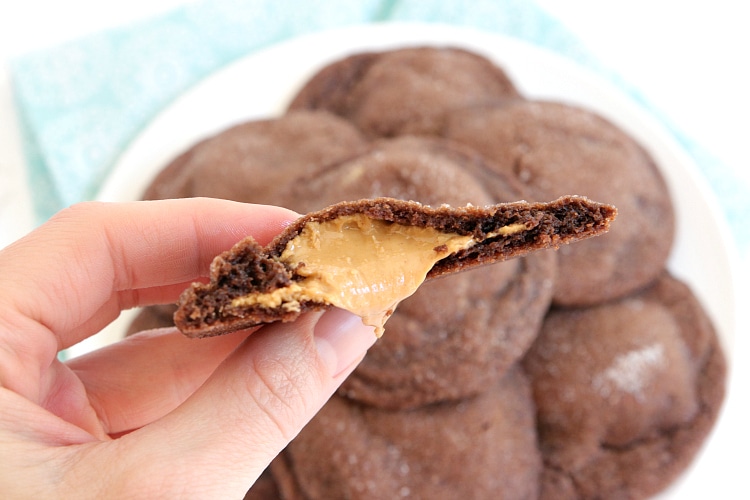
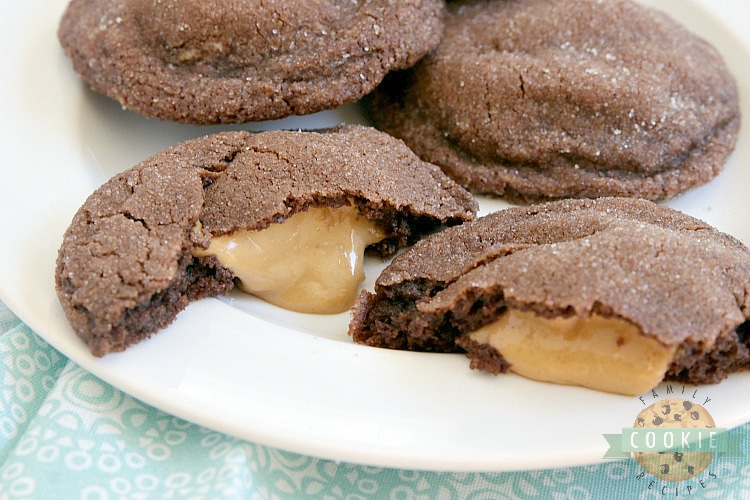
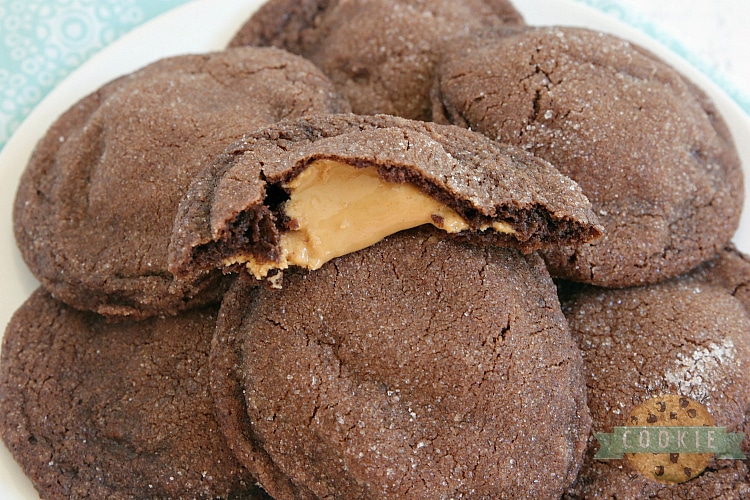
Buckeye Cookies are soft and chewy chocolate cookies with a gooey peanut butter filling in the middle. This chocolate and peanut butter cookie recipe is unique, but so easy to make!
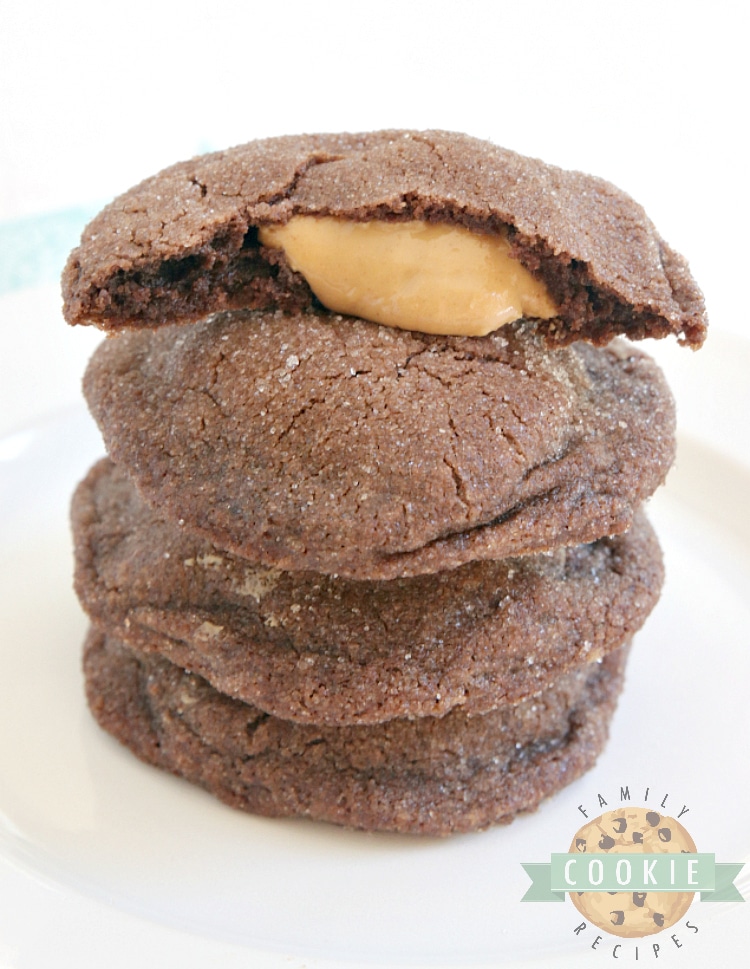
Buckeye Cookies are named after Buckeye Balls, which are essentially peanut butter balls dipped in a chocolate coating. Now you can have the same flavor combination in cookie form! Have you ever had soft and gooey peanut butter in the middle of a cookie? I hadn’t either until I tried these and I’m not sure why I had never thought of this before…it’s soooo yummy!
Ingredients in Buckeye Cookies
Peanut Butter Filling
1 1/4 cups creamy peanut butter
1/3 cup powdered sugar
Chocolate Cookie
3/4 cup butter, softened to room temperature
1/2 cup sugar, plus more for dipping
3/4 cup brown sugar
1 egg
1 tsp vanilla extract
1 1/4 cups flour
3/4 cup unsweetened cocoa powder
3/4 tsp baking soda
1/2 tsp salt
How to make Buckeye Cookies
Preheat the oven to 350°.
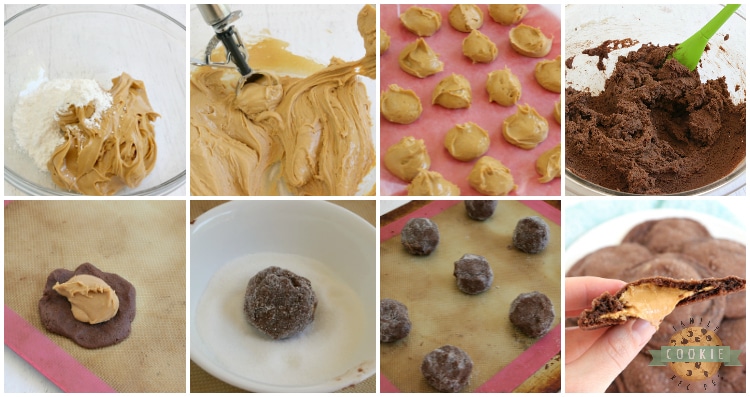
Make the peanut butter filling. Stir together the peanut butter and powdered sugar until smooth. Use a small cookie scoop to scoop out the filling onto a plate or cookie sheet lined with wax paper. Place in freezer for about 30 minutes.
While the peanut butter balls are freezing, you can make the cookie dough. Cream the butter and sugars together with an electric mixer for about 2-3 minutes. Add the egg and vanilla and continue to mix for 1-2 more minutes. Add the flour, cocoa powder, baking soda and salt and continue to mix until smooth.
Scoop out a heaping tablespoonful of cookie dough (I used a medium cookie scoop or you can just overfill a small one) and flatten it out between your hands like a pancake. Place a frozen peanut butter ball on top and then fold up the edges of the cookie until the peanut butter ball is completely covered. If it doesn’t look like a ball at this point, roll it between your palms to form a ball. (Unless you have a couple of people making these, you’ll want to keep at least half of the peanut butter balls in the freezer when you first begin, and then work quickly so that the peanut butter doesn’t start thawing as you are assembling the cookies- the process gets a lot messier once it starts to thaw out!)
Place some sugar in a shallow bowl and gently roll the cookie ball in the sugar until coated on all sides. The sugar will help prevent the balls from sticking to the cookie sheets, makes the cookies prettier, and adds a nice little texture to the cookies as well!
Place the cookie balls at least 2″ apart on a prepared cookie sheet. You can use well-greased cookie sheets or you can use cookie sheets lined with parchment paper or silicone baking mats. I prefer the silicone baking mats because nothing sticks to them!
Bake for about 10-12 minutes. I usually stick to the lower end of baking times on cookies because I like them really soft, but if you like them a little bit firmer and well-done, you can bake them a minute or two longer.
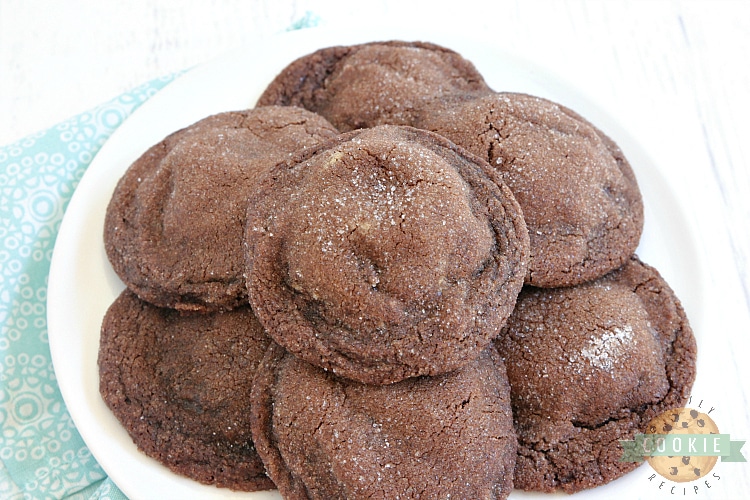
Let cool on the baking sheets for about 10-15 minutes before transferring to a wire rack. These cookies are delicious warm, but the peanut butter filling stays gooey even when they are completely cooled and up to a few days later as well!
HOW DO YOU MAKE PERFECT COOKIES?
Here are a few tips to getting perfect cookies every time!
- Make sure you use softened butter – DON’T melt it! One of the most common errors in cookie making is using butter that is either really cold and hard, or using butter that is too warm and melted. If you have time, just leave butter out on the counter for about 1-2 hours before making your cookies. If you are like me and don’t plan your cookie cravings that far in advance, just place the butter in your microwave and soften in 5 second intervals, being very careful to pull it out before it melts. I actually like to use the defrost setting on my microwave to soften butter- I don’t know the technical reasons behind it, but it seems to soften the butter more evenly and takes a little bit longer so I’m less likely to start melting it!
- Spend a little extra time when you mix the butter and sugars. Creaming them together for 2-3 minutes will improve the consistency of your cookies.
- Preheat the oven. This will help your cookies turn out right every time!
- Use a cookie scoop! If you want all your cookies to be perfectly shaped and have them all be the same size, a cookie scoop is the way to go.
- Use parchment paper or a silicone baking mat. Doing this will make it really easy to remove the cookies from your cookie sheet so that you don’t have to scrape them off the pan – they will just slide right off in perfect shape!
- Don’t over bake the cookies – when I take mine out of the oven, they still look slightly under baked but they will continue to bake on the cookie sheet for a couple more minutes so that’s ok! With chocolate cookies, it’s really hard to tell if the cookies are done or not, but you will be able to see that the edges are getting a little bit darker and crispier.











Sydnie says
I am so excited about this delicious recipe! Thanks for sharing!
Kaylie says
Thank you, Sydnie!
Jenn says
Can I eat these forever? HOLY COW! Thank you for the delicious cookie recipe!
Kaylie says
Thank you, Jenn!
April says
These are GREAT! I used my small cookie scoop (1″ maybe? I also call it a melon baller) for the peanut butter, and my ice cream scoop for the dough (holds 2 Tbsp, maybe more?). My ice cream scoop proved to be a bit large because I was leftover with 6 or 7 PB balls, and made about 15 cookies. I still baked them for 11 minutes though and they came out great even if they were a little big! I’m going to try to adjust the PB part of the recipe to match my utensils. The extra PB balls are currently sitting the freezer for future use. Delicious!
Kaylie says
Sounds delicious, you can’t go wrong with large cookies! Thank you, April!