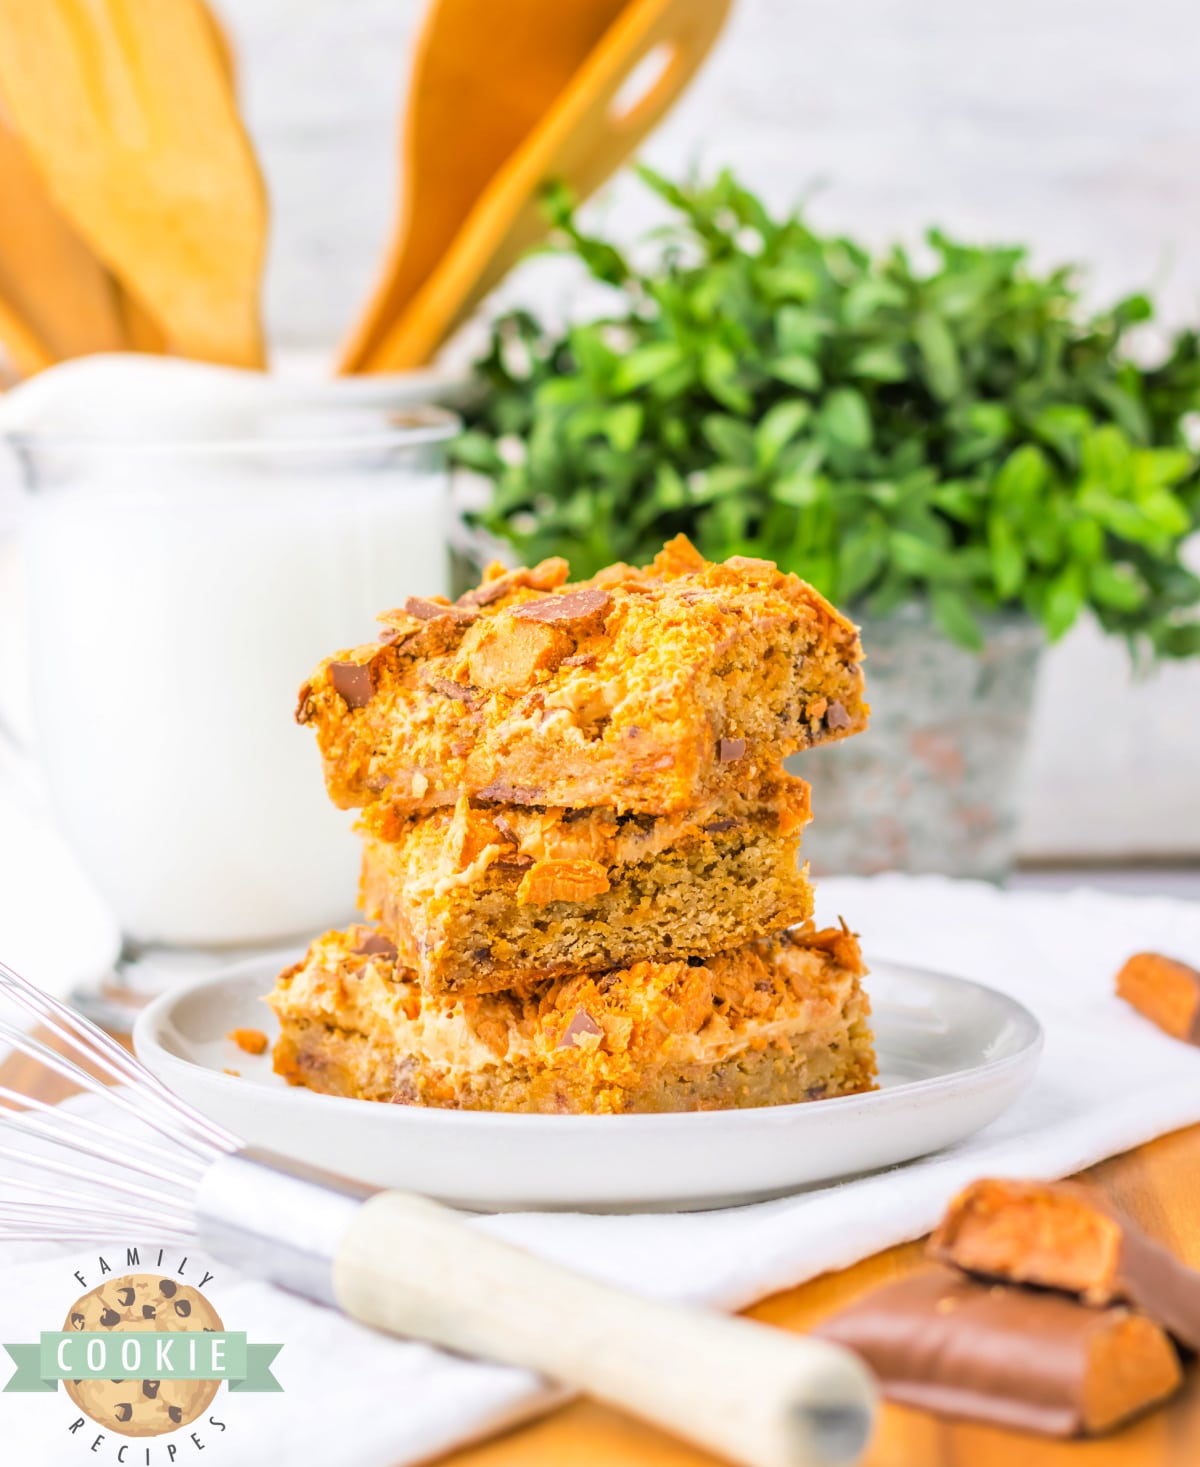
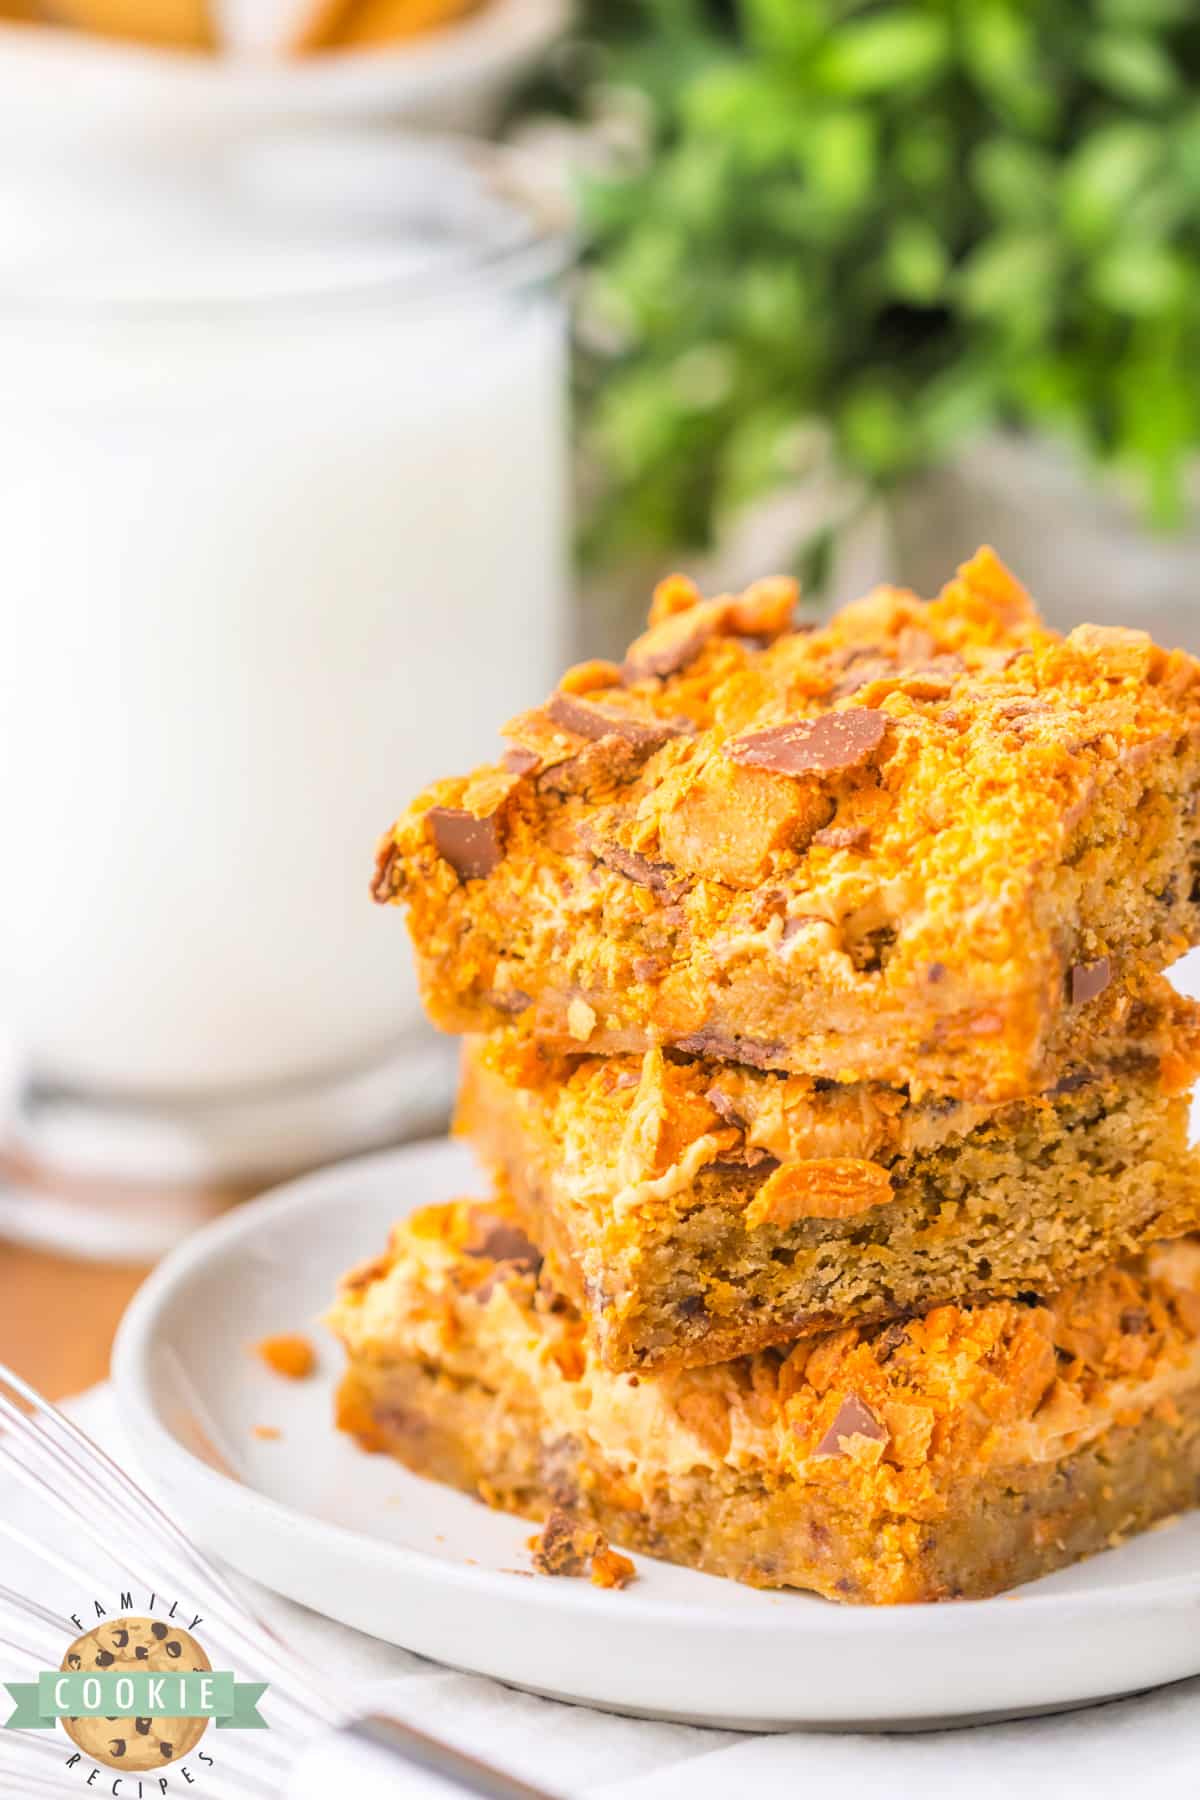
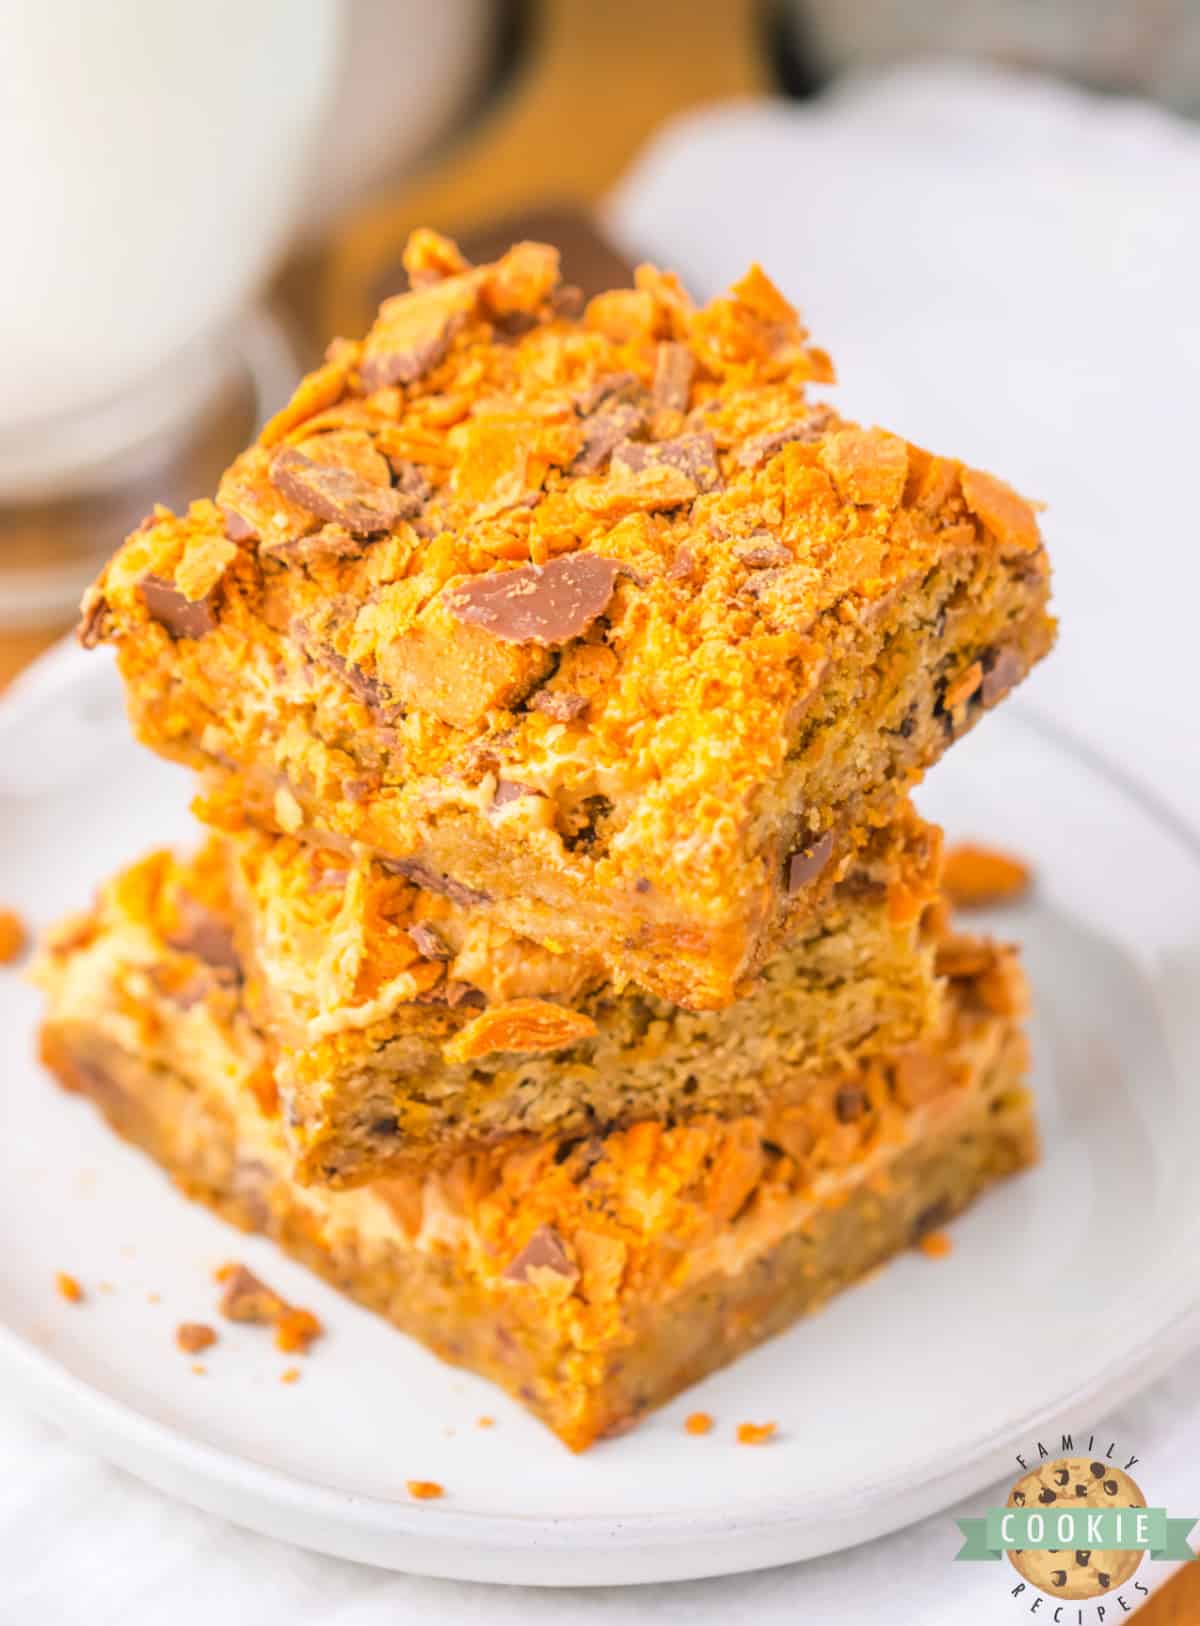
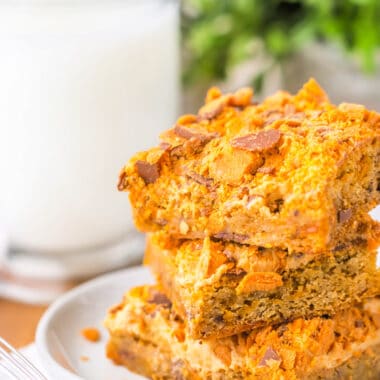
Butterfinger Cookie Bars begin with a soft and chewy blondie cookie base that is topped with peanut butter frosting and crushed Butterfinger candy bars.
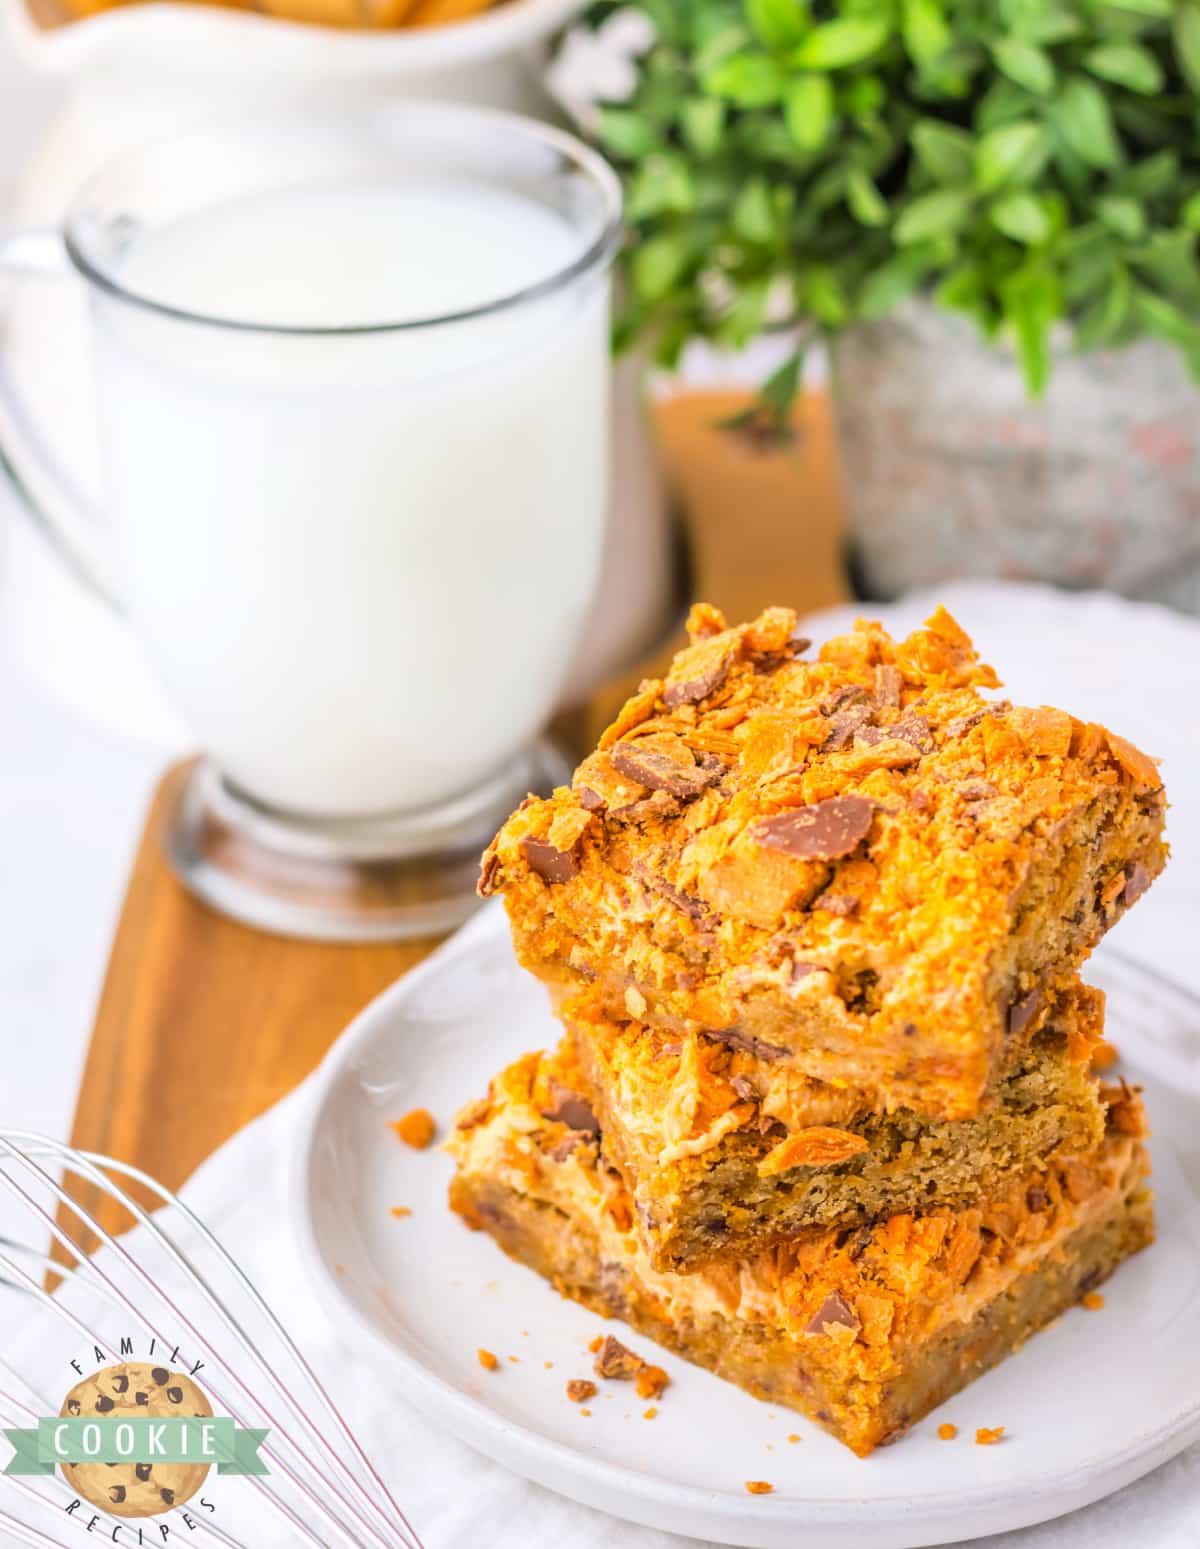
Butterfinger Cookie Bars are so much easier to make than taking the time to roll and cut out individual cookies. I absolutely love cookies, but sometimes it just feels like a lot of work to scoop and bake dozens of cookies. The solution? Cookie bars! Just put all the dough in a 9X13 pan and bake the whole batch at one time!
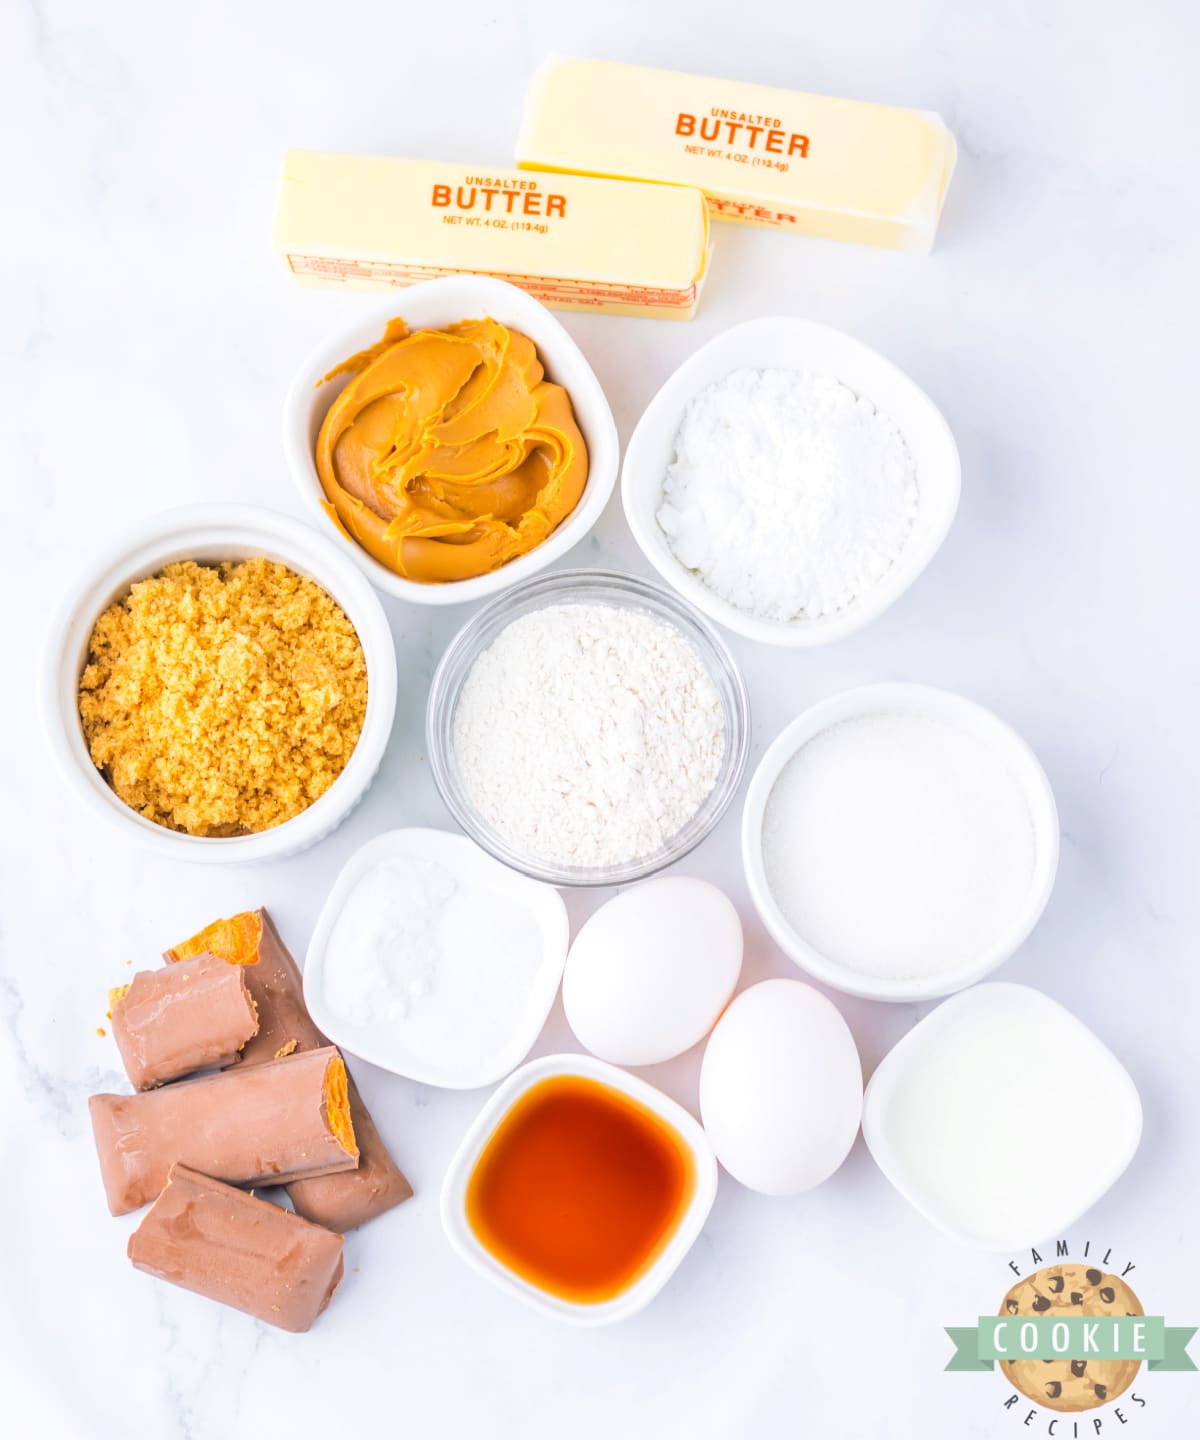
INGREDIENTS IN BUTTERFINGER COOKIE BARS
COOKIE DOUGH
Butter: I use salted butter, but you can use unsalted if you prefer. No margarine! Make sure the butter is softened to room temperature before adding to the recipe.
Sugars: You will need sugar and brown sugar for the cookies. For best results, make sure the brown sugar is soft and fresh.
Eggs: Two large eggs will bind all of the other ingredients together.
Vanilla extract: The higher the quality of the vanilla, the better!
Flour: All-purpose flour works best in these cookies. Cake flour also works well, or you can use a gluten-free substitute if needed.
Salt: A little bit of salt helps to bring out the other flavors in the cookie bars.
Baking soda: Baking soda is the leavening agent. For best results, make sure the baking soda isn’t old or expired.
Butterfingers: This is the star ingredient. You will either need to use a 10-ounce bag of Butterfinger Baking Bits or you can crush/chop five fun-sized Butterfinger candy bars or two large-sized candy bars. Feel free to add more if you’d like!
FROSTING
Peanut butter: Creamy peanut butter works best for the frosting, but if you want a little extra crunch, you can use crunchy peanut butter instead.
Butter: Again, real butter works best. Make sure it is softened to room temperature before adding to the other ingredients.
Vanilla extract: Adds a little extra flavor to the frosting.
Powdered sugar: This provides a smooth sweet consistency to the frosting.
Milk: Any kind of milk will work, even non-dairy alternatives. Feel free to add a little less or a little more to get the frosting to the correct consistency.
Butterfinger bars: Add more crushed Butterfinger candy bars on top. You can’t have too many!
HOW TO MAKE BUTTERFINGER COOKIE BARS
Preheat the oven and line a baking dish with parchment paper and spray with cooking spray, set aside.
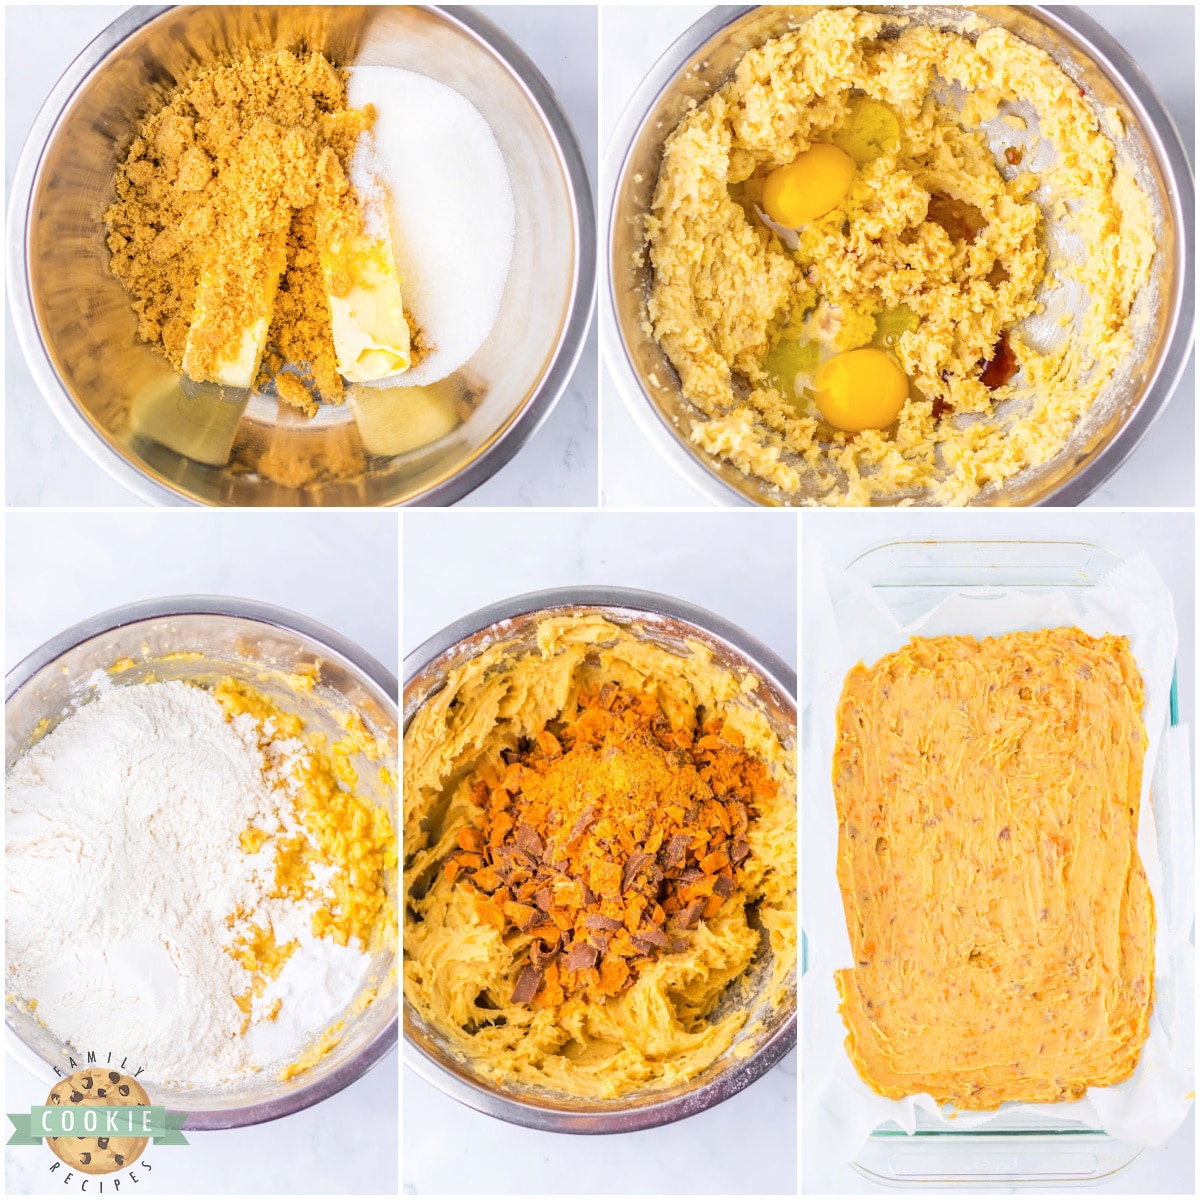
Make the cookie dough and spread it evenly in the prepared pan.
MAKE THE FROSTING
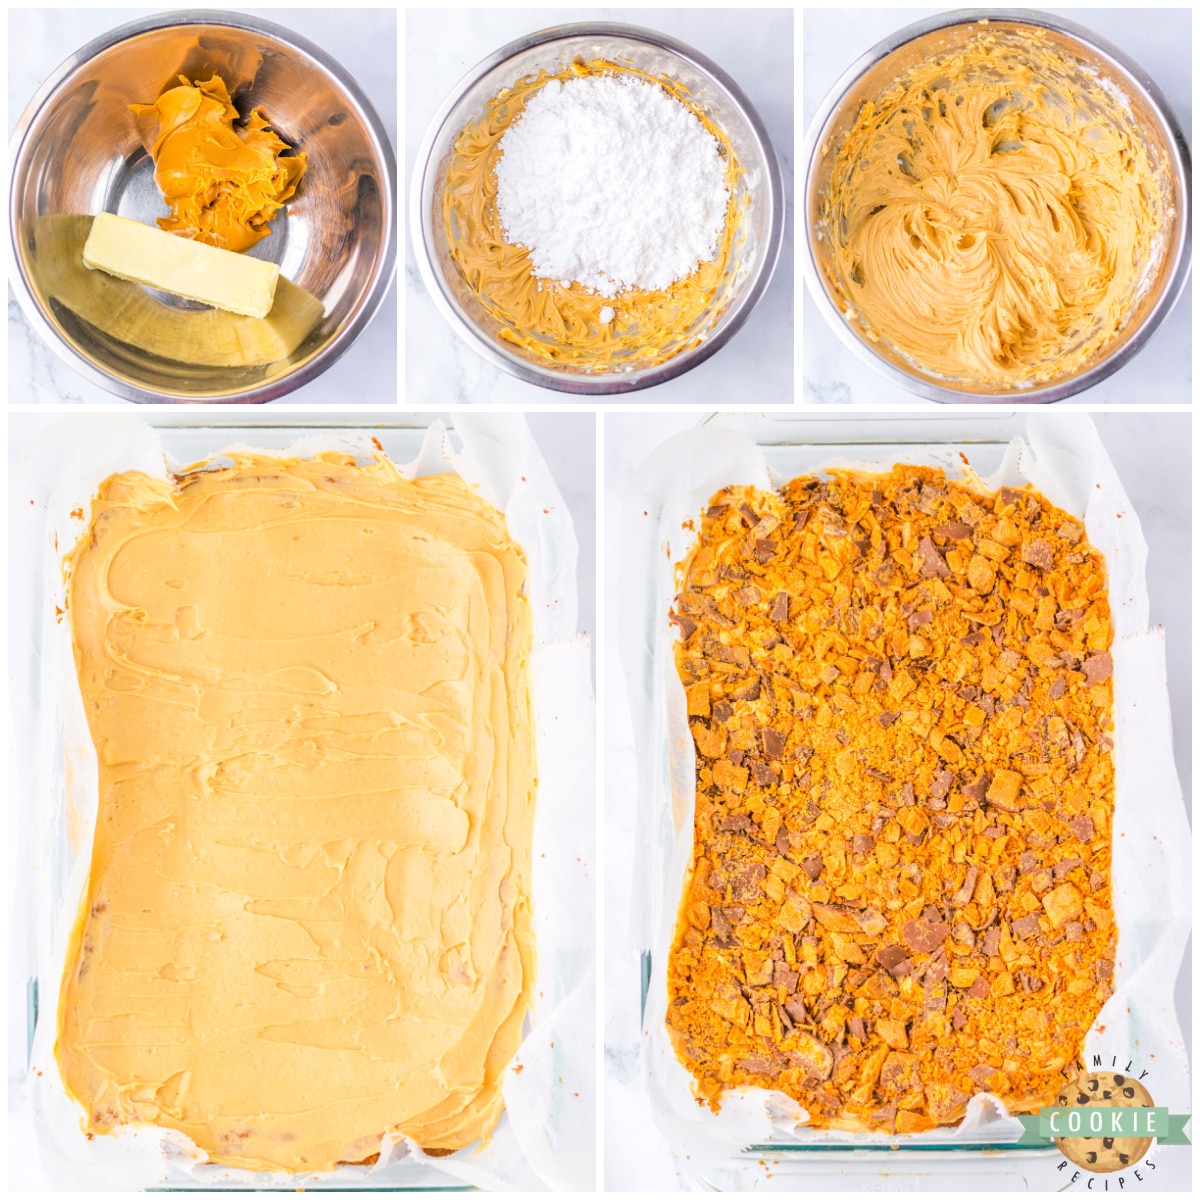
Mix the frosting ingredients together and spread evenly over the top of the cooled cookie layer.
Sprinkle the remaining chopped Butterfinger bits all over the top. Slice into bars, serve, and enjoy!
HOW DO YOU SOFTEN BUTTER?
I like to soften butter by using the defrost function on my microwave. If you need the full 1/2 cup cube of butter, you can leave it in the paper wrapper, otherwise, place the amount of butter you need in a glass or porcelain bowl. I use the lowest defrost setting on my microwave and just let it run for 20 seconds. Check the butter and see how soft it is by pressing it with a rubber scraper. If it is still not soft to the touch, meaning it doesn’t indent when you press into it, let it warm for another 5-10 seconds. Watch it closely! Butter softens very quickly.
TIPS FOR MAKING THE BEST COOKIE BARS
- Do not melt the butter! The butter needs to be softened (at room temperature), but using melted butter will ruin the cookies.
- Spend a little extra time when you mix the butter and sugars. Creaming them together for 2-3 minutes will improve the consistency of your cookies.
- Preheat the oven. This will help your cookies turn out right every time!
- Use parchment paper. Doing this will make it much easier to remove the cookies from your pan.
- Make sure not to overbake your cookie bars. Once the edges begin to turn even the lightest golden brown, take them out of the oven! I prefer to err on the side of being slightly undercooked for cookies because if they cook even a little bit too long, they can get hard and I love soft cookies!
HOW TO CUT PERFECT COOKIE BARS
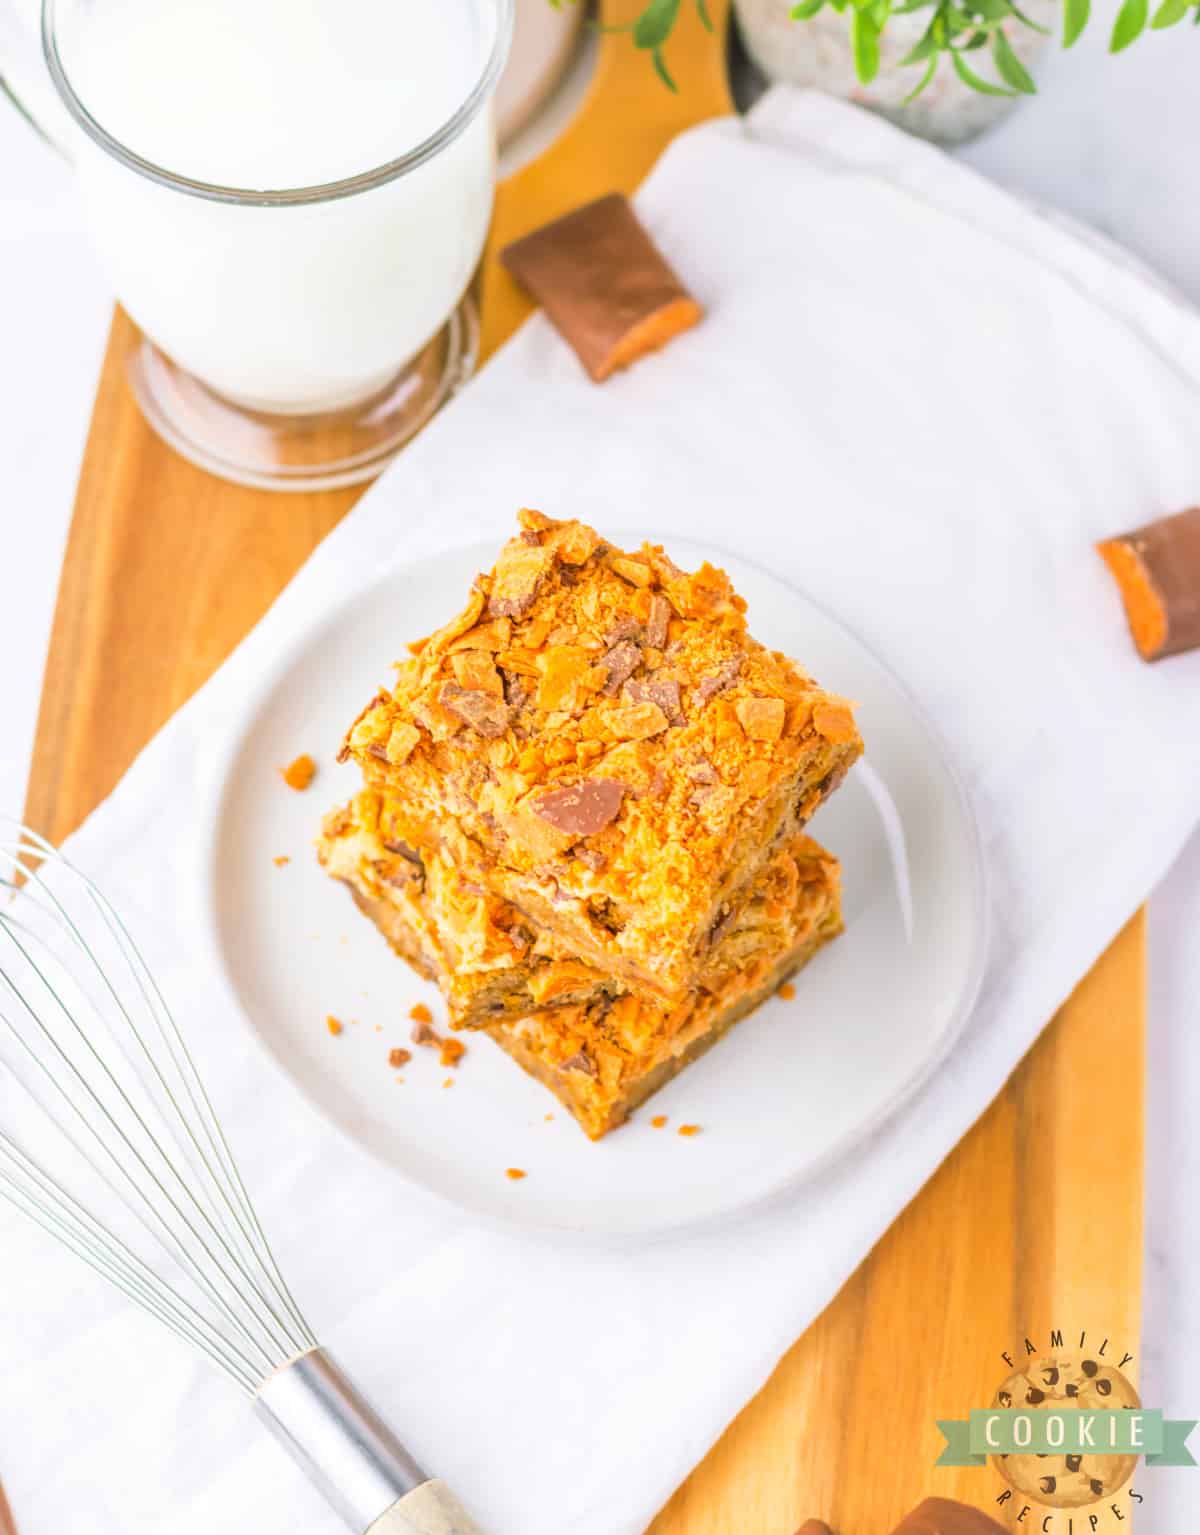
The answer to getting every single cookie bar cut and looking perfect is parchment paper! I used to always get frustrated with desserts that were made in a 9X13 or sheet pan because I felt like I was always destroying the entire first row trying to get them out of the pan! Then I discovered that if you use parchment paper, you can remove all the cookie bars from the pan and slice them perfectly.
If you don’t have parchment paper, you can just grease your pan like you usually do but your first row may just not be quite as pretty! This cookie bar recipe is one of the easiest to cut into squares – they stay intact much better than many other desserts!
HOW TO STORE COOKIE BARS
Store Butterfinger Cookie Bars in a covered container at room temperature for up to one week. Bars can be frozen for up to 3 months – they stay fresher if they are cut and then individually wrapped in plastic wrap before freezing.
LIKE COOKIE BARS? HERE ARE SOME OF OUR FAVORITE BAR COOKIE RECIPES!
- Strawberry Cheesecake Cookie Bars
- Snickerdoodle Cookie Bars
- Sugar Cookie Bars
- Chocolate Chip Cookie Bars
- No Bake Cookie Bars
- Oatmeal Chocolate Chip Cookie Bars
- Lemon Sugar Cookie Bars
- Swirled Patriotic Cookie Bars
- Fudgy Oatmeal Cookie Bars
- Twix Cookie Bars
- Easy Peanut Caramel Cookie Bars
- Gingerbread Cookie Bars
- Butterscotch Pretzel Cookie Bars
- Reese’s Cookie Bars
- S’mores Cookie Bars
- Oreo Cookie Bars
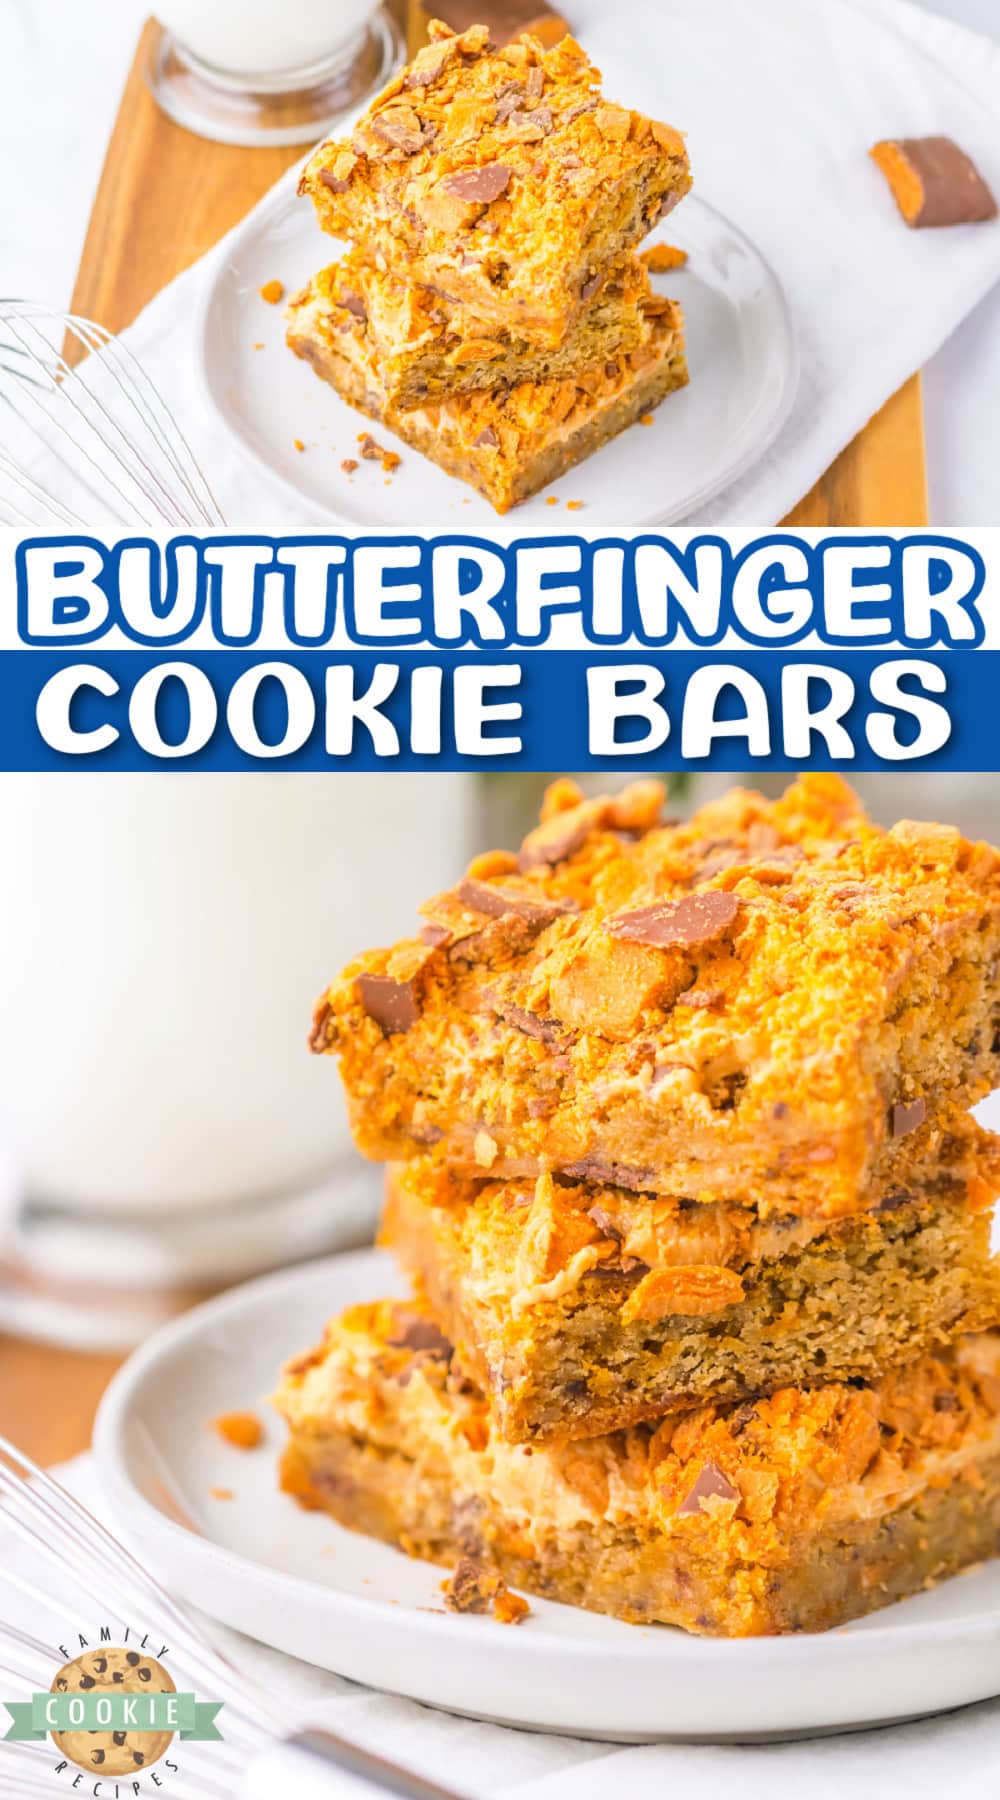
Butterfinger Cookie Bars begin with a soft and chewy blondie cookie base that is topped with peanut butter frosting and crushed Butterfinger candy bars.





Leave a Reply